6 Ways to Safeguard Your Camera in the Backcountry
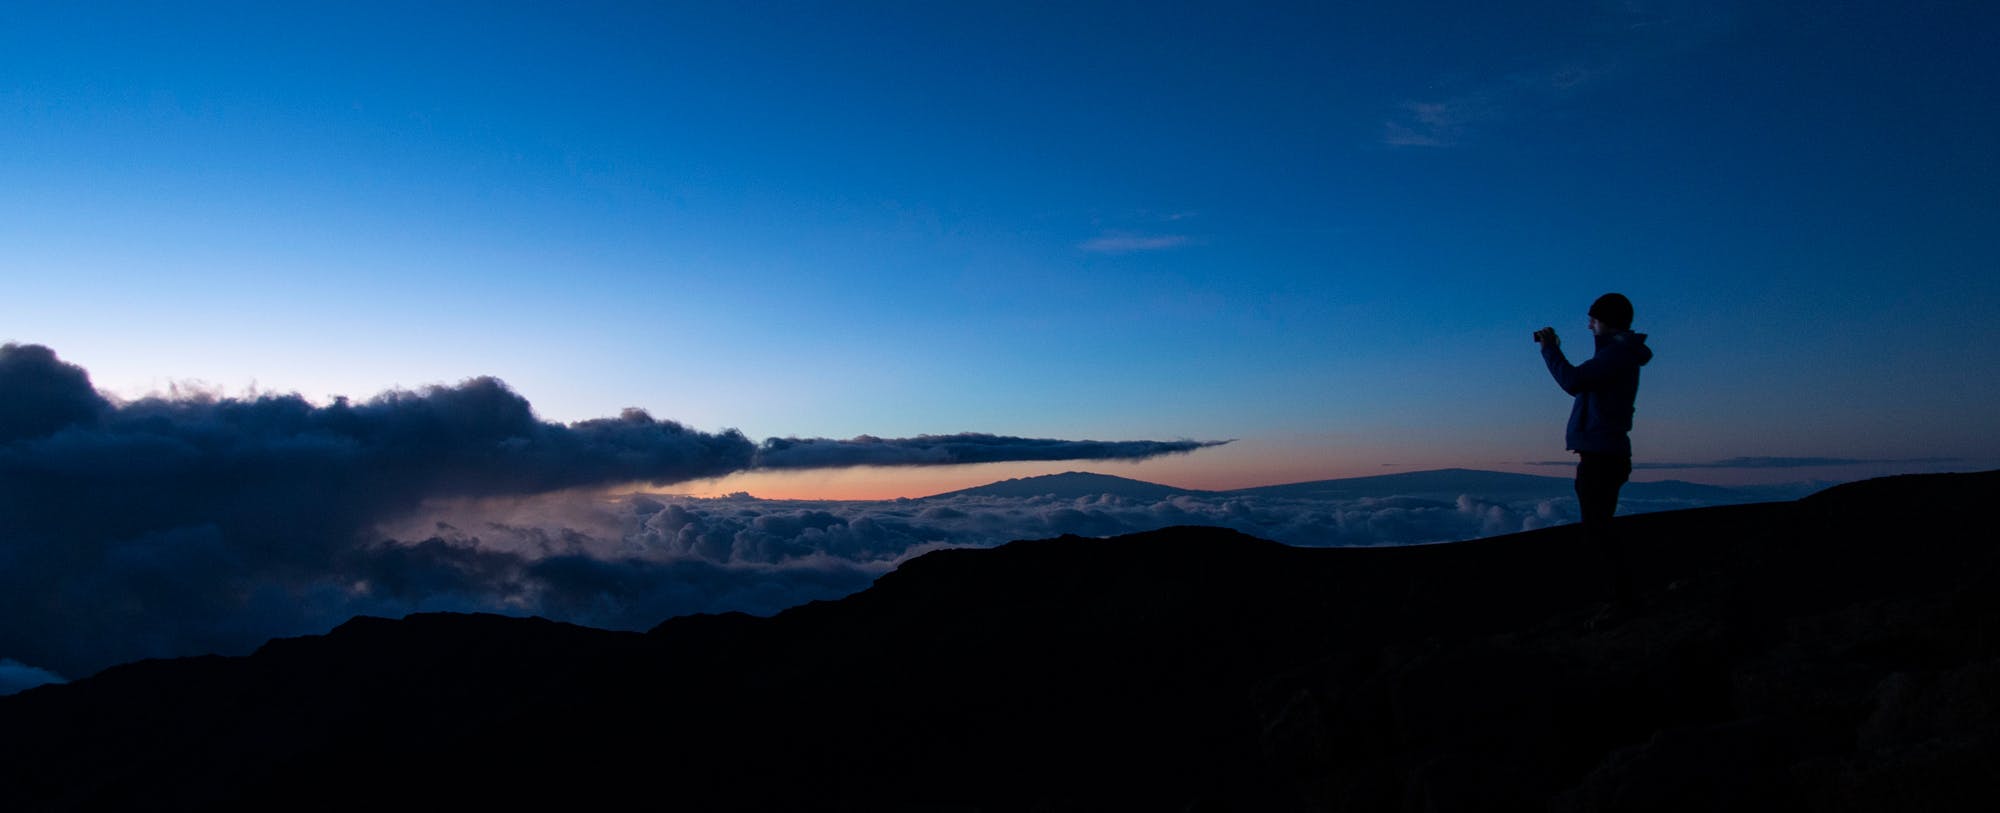
So you’ve decided to bring a camera into the backcountry. And you’re probably a little nervous. Never fear – while there are infinite ways to destroy your camera, there are also infinite ways to protect it. Here are a few of the best ways to protect your camera in the backcountry.
In the ideal scenario, your camera should be well protected but easy to retrieve.

1. The “Daypack Wrap”
Keep your camera in a daypack, wrapped in your extra layers. This is a basic “free” strategy, but it doesn’t offer the best protection.
Pros – Requires no extra gear! Protects against most knocks, as well as against light rain or snow.
Cons – won’t protect against a soaking or a good-sized drop. Annoying to unwrap your layers every time you want the camera.

2. Dry Bag
Kayakers use these to keep all their gear dry on the river. While there’s no padding, it will keep your gear dry. The dry bag can easily be used as an extra shell of protection and is a solid defense on rafting or kayak trips when you might get a little wet.
Pros – very light, and almost completely waterproof, even against submersion. Plus, you can wrap the camera in a layer or two to make it somewhat knock resistant.
Cons – won’t protect against any big hits, slightly frustrating to seal and unseal every time you want a photo.
Active Junky Recommendation: SealLine Black Canyon Dry Bag - (5L: $20, 10L: $23):
A solid, durable dry bag. The 10L size will fit a DSLR or mirrorless with a lens or two, while the 5L will fit smaller cameras easily.

3. Camera Holster
A case that sits on your chest and is easily accessible.
Pros – makes accessing your camera easy, relatively inexpensive, some have good padding.
Cons – are not always very convenient during action sports (like skiing or mountain biking).
Active Junky Recommendation: Lowepro Toploader Pro 70 AW II Holster Bag.
Fits a mirrorless or DSLR with a midsize lens, can be slung over a shoulder or mounted on your chest, and comes with a rain cover.

4. Photography-Specific Daypack
Pros – you’re already probably carrying a day pack, so it might as well have a specific compartment for photography gear! There are a wide variety of options: some will be nearly waterproof, and others will provide easy access side zips to avoid taking the backpack off.
Cons – more expensive, and not fully waterproof
Active Junky Recommendations:
A small water-resistant daypack that can fit a mirrorless or DSLR camera with an attached lens, as well as some extra layers in the main compartment.
Can fit a mirrorless or DSLR camera with an attached lens, as well as an extra lens, hydration reservoir, and extra gear. It has a good rain cover and a side access for camera gear.

5. Pelican Case
We’re going to give these Pelican Cases their own category. While there are other brands that make hard cases, these are a favorite among both professional and amateur outdoor photographers.
Pros – they’re nearly indestructible. They’re water and shock proof, and you can carve the foam inside to fit whatever gear you have.
Cons – they’re heavy, bulky and expensive.
Active Junky Recommendation: Pelican 1450 Case – $100 – can fit a full frame DSLR w/ lenses and accessories.
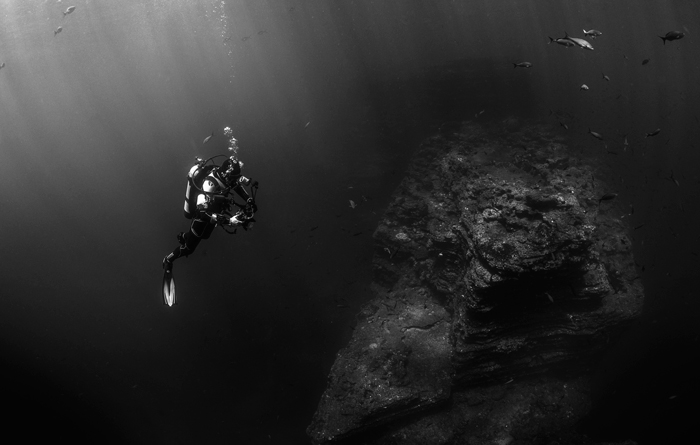
6. Waterproof Housing
Some cameras have specific waterproof housing designed just for them, and most will fit a generic case (although you aren’t guaranteed complete access to camera controls).
Pros – Totally waterproof, and you can use the camera while it’s in the housing.
Cons – Bulky, expensive and difficult (or impossible) to change lenses.
Active Junky Tip: This is one area where you don’t want to skimp. Make sure you purchase a high quality housing so you don’t have any leaks—this is a tragedy that’s been known to happen. Look for a housing that’s built for your specific camera rather than a generic one. The extra price will be worth it when you’re fiddling with ISO settings in middle of the Arctic Ocean.
Remember— protecting your camera isn’t all hard cases and bubble wrap. While gear is important, it’s key to touch on mindset; if you don’t want your camera to break, you’re going to need to stay vigilant and keep an eye out.
Note: If you don’t want to be worried all the time about an expensive DSLR or mirrorless camera, get a GoPro or waterproof, ruggedized point and shoot. Don’t have an indestructible camera? Expect to be constantly analyzing scenarios before, during and after taking your camera into the woods.
It’s all about risk assessment. Ask yourself questions. How dangerous are the conditions? Are you likely to fall? If you fall, will you be able to protect the camera—or, more importantly, yourself? Last thing you want is to make a headline read: Man Falls Off Cliff, Friends Say He “Hoped to Get the Shot.”