Ski Maintenance 101: Basic Base Repair
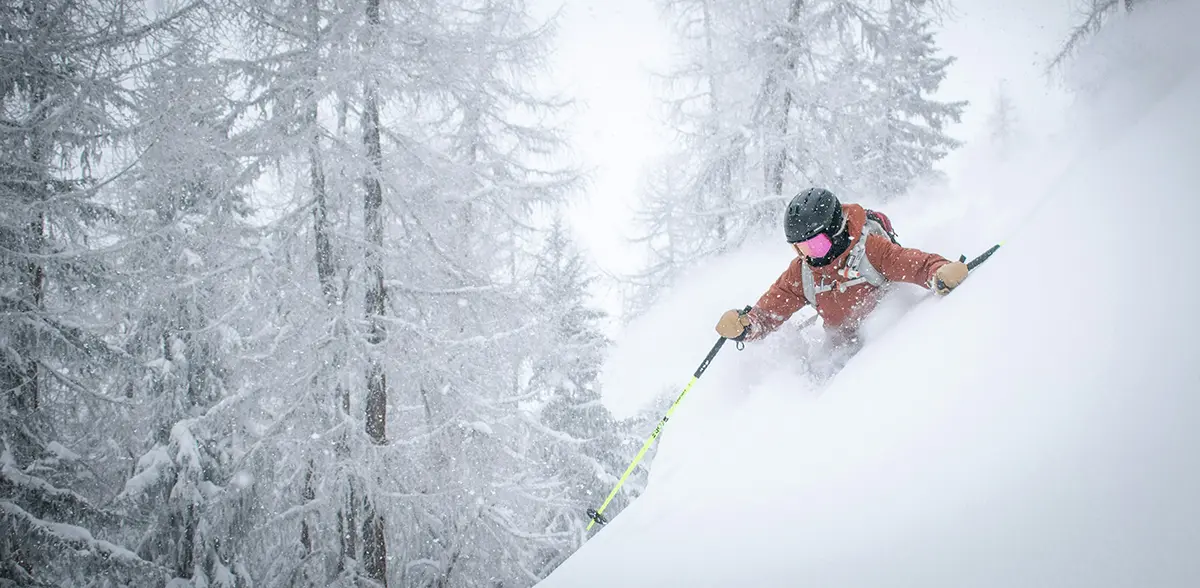
On the last installment of the Ski Tuning Series, we covered the basics of how to wax your skis at home. But now, let’s dive deeper, into the wild world of dings, gouges and scrapes that will inevitably plague your skis, especially after some early season riding. Let’s talk Base Repair. More specifically, how to fix a gouge in your ski.
THE PROBLEM
Skis need to have a smooth and uniform base in order to perform well in all snow conditions. And, when you hit that “pillow” that turns out to be a boulder, you will quickly realize how much a large gash in your base can affect ski performance. Suddenly, you’re slower on the flats, it’s harder to keep up with your friends and one of your skis feels sticky. It’s at this moment that you must kick off your skis, flip them over and find out just how bad the damage is.
THE DIAGNOSIS
A BASE GOUGE
Gouges often result from skiing over a partially buried object, which essentially carves a chunk of P-Tex out of the ski’s base. It’s important to look into the gouge to make sure that it only penetrated into the P-Tex base and didn’t expose the core of ski. If the scratch did penetrate to the core of the ski, you have a “coreshot.” We’ll cover this in ‘Part 3: Advanced Base Repair.’
THE SOLUTION
A shallow gouge into your base is a relatively simple problem to fix on your own at home. The first step is to equip yourself with the proper tools: a razor blade, a P-Tex Candle, a Steel Scraper, a Nylon Brush, a piece of cardboard, and a lighter. The goal of this repair is to fill the gouge with melted P-Tex, which will harden and then be scraped smooth.
Step 1: PREP
First, take a look at the gouged area and make sure that it is clean of any debris. Sometimes, little bits of rock and grit can become embedded in the base near the impact site, and this is where the razor blade comes in handy. Carefully use the blade to cut out any rock fragments and then smooth out the edges of the gash by carving away slivers of P-Tex. It is also key to make sure that the affected base area is dry, clean and at room temperature to allow for ideal bonding (a liquid base cleaner can be helpful to apply at this step). Lastly, it’s best to perform a base repair on a flat and stable workspace in a well-ventilated area. The use of P-Tex candles presents the hazards of burning an open flame and breathing noxious fumes, so make sure to take the proper precautions and plan ahead.
Step 2: APPLY THE P-TEX
Now it’s time to fire up the P-Tex Candle. Lay a small piece of cardboard on the base of the ski right next to the gouged area and light the candle over the cardboard. While the candle is beginning to burn, grab your metal scraper and position it’s flat edge below the candle to control the amount of oxygen going to the candle and to prevent any drips from landing inadvertently on a different part of your ski. The goal is to for the candle to burn with a low blue flame, which can be achieved by holding the candle close to the metal scraper and also slowly turning it. When the flame is blue, position the scraper and the candle above the gouge and then remove the scraper to let the liquid P-Tex drip onto the base while slowly rotating the candle. If the flame turns orange and gets big, there will be small black flecks of carbon in the P-Tex, so try to keep the flame low. It’s also best to overfill the gouged area, because the P-Tex will settle into the hole and any excess will be scraped away (deeper gouges may require several coats of P-Tex). Once a sufficient amount of P-Tex has dripped into the base, carefully blow out the candle, rest it on the cardboard and set it aside.
Step 3: SCRAPE THE P-TEX
Once you have applied the P-Tex to your damaged base, set the ski aside and give it at least a couple of minutes to fully cool. If you scrape the P-Tex while it’s soft, you risk ripping out the entire repair. Once the P-Tex has fully hardened, grab your metal scraper and begin slowly scraping away the P-Tex material until the patch becomes flush with the base of the ski. At this point, it’s nice to use a Nylon Brush to buff out the repair and try to blend it smoothly into the surrounding base. Also, after performing a P-Tex repair, you should follow-up with a full hot wax, which will help cover your patchwork and ensure that the gouged area glides as well as the rest of the ski.
And, there you have it! This has been a quick and dirty look into the world of base damage and repairs. While these techniques take time and practice to fully master, almost anyone can perform a simple base repair. Plus, it’ll save you time, money, and give you a new sense of appreciation for your ski’s bases. Then, just maybe, you’ll try to start avoiding those early season “pillows.”
Related Articles